Ledger.com/start - Begin your secure crypto journey with Ledger's trusted hardware wallets. Follow our easy step-by-step guide to set up your Ledger device and safeguard your digital assets. Embark on your secure crypto journey with Ledger's trusted hardware wallets. This guide will walk you through the process of setting up your Ledger device, ensuring your digital assets are protected with the highest level of security.
Superior Security
Ledger hardware wallets offer state-of-the-art security features to protect your cryptocurrencies from potential threats. With robust encryption and secure chip technology, your digital assets remain safe from hackers.
User-Friendly Interface
Ledger devices are designed with user-friendliness in mind. Even if you're new to cryptocurrencies, the intuitive interface and comprehensive guides make setup and management straightforward.
Wide Compatibility
Ledger supports a wide range of cryptocurrencies and tokens, allowing you to manage all your digital assets in one place.
Purchase Your Ledger Device
Visit Ledger's official website and choose from the Ledger Nano S Plus, Ledger Nano X, or other available models. Ensure you buy directly from Ledger or an authorized reseller to avoid counterfeit products.
Unboxing Your Ledger
When you receive your Ledger device, ensure the packaging is intact and includes:
- Ledger hardware wallet
- USB cable
- Recovery sheets
- Instruction manual
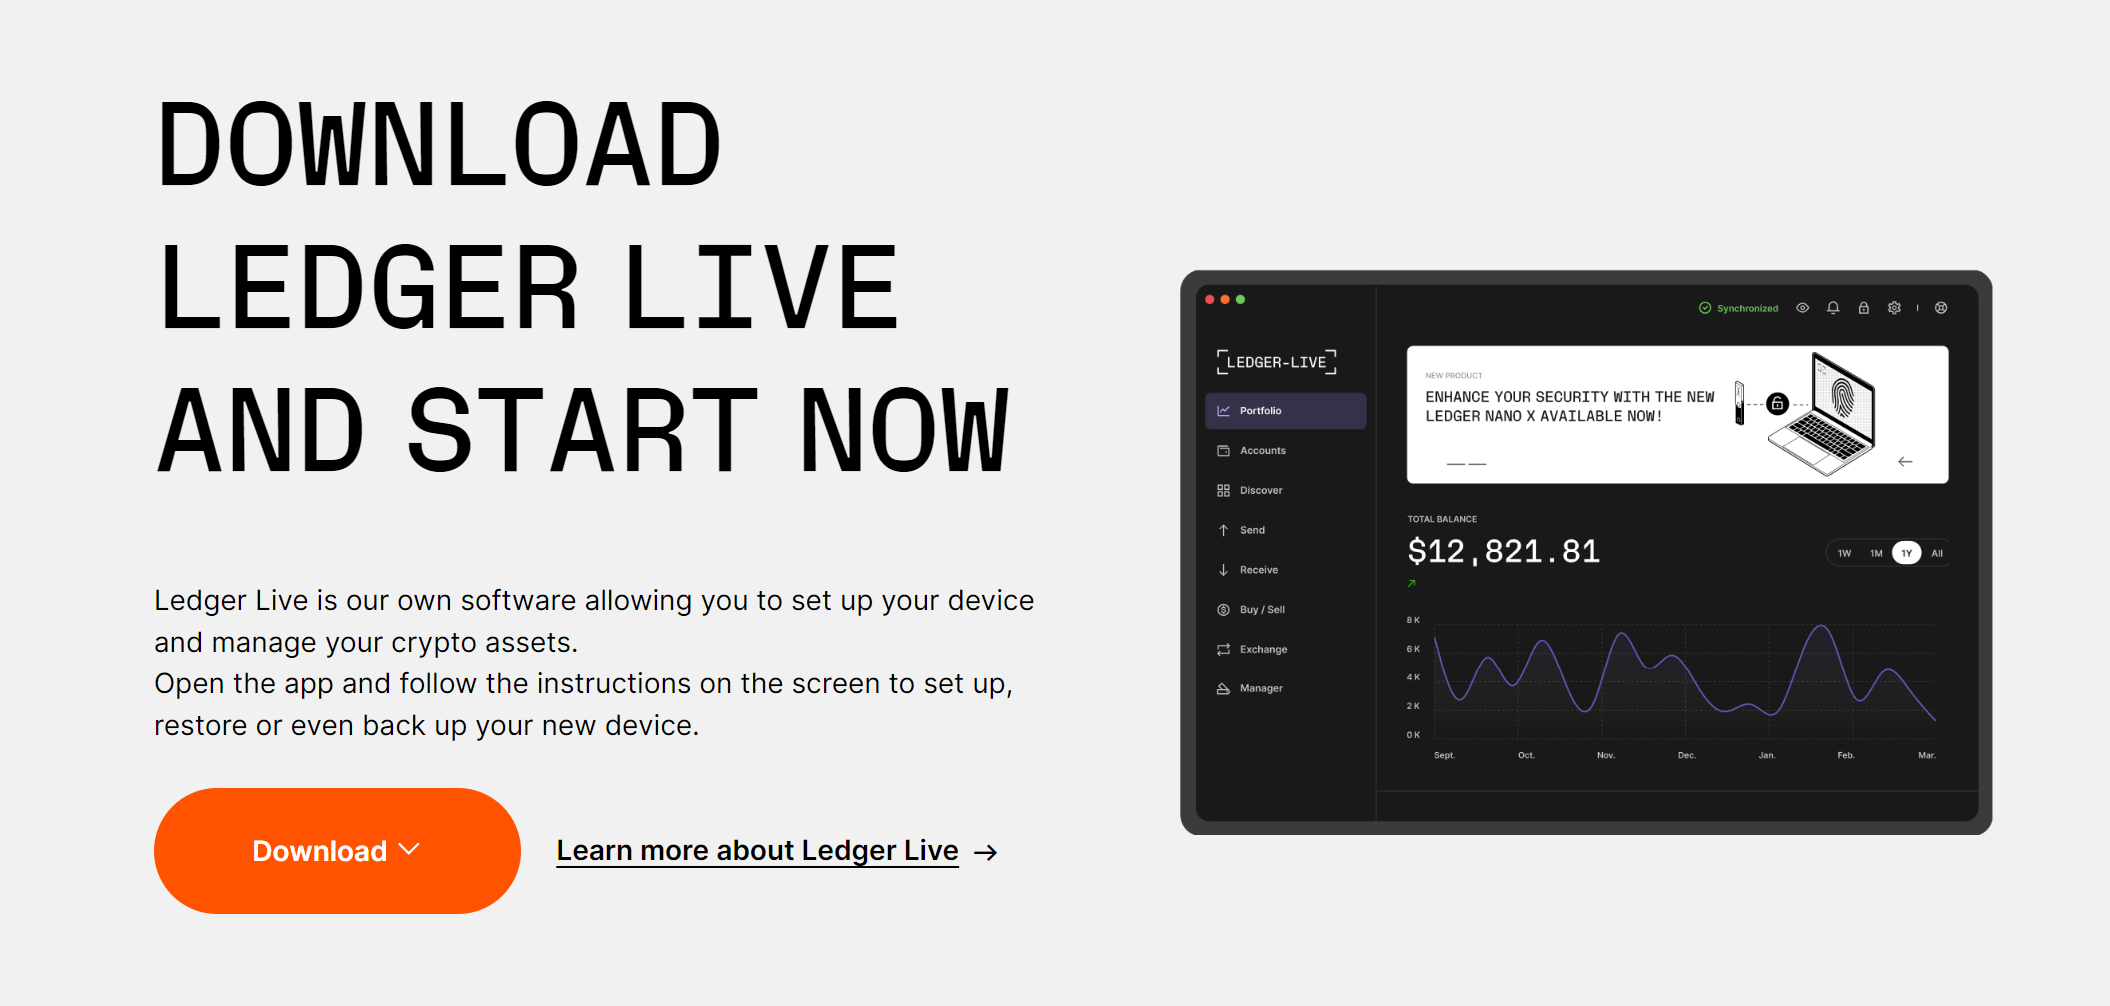
Download Ledger Live
Ledger Live is the companion app for your Ledger device. Download it from the official Ledger website and install it on your computer or smartphone.
Step 1: Power On Your Device
Connect your Ledger device to your computer using the USB cable. Follow the on-screen instructions to set up your device.
Step 2: Choose a PIN Code
Select a secure PIN code to protect your device. Avoid using easily guessable numbers.
Step 3: Write Down Your Recovery Phrase
Your Ledger device will generate a 24-word recovery phrase. Write this down on the recovery sheets provided and store it in a safe place. Never share this phrase with anyone.
Step 4: Confirm Your Recovery Phrase
Verify your recovery phrase by following the prompts on your device. This step ensures you have accurately recorded the phrase.
Step 5: Install Ledger Live
Open Ledger Live on your computer or smartphone. Follow the instructions to set up an account and connect your Ledger device.
Step 6: Add Crypto Accounts
Within Ledger Live, you can add different cryptocurrency accounts. Select the cryptocurrencies you wish to manage and follow the prompts to add them to your dashboard.
Regularly Update Firmware
Keep your Ledger device firmware up to date to ensure you have the latest security features and improvements.
Use Strong Passwords
Ensure all accounts associated with your Ledger device, including Ledger Live, are protected with strong, unique passwords.
Enable Two-Factor Authentication (2FA)
For additional security, enable 2FA on all compatible accounts.
Q: What should I do if I lose my Ledger device?
A: Use your recovery phrase to restore your assets on a new Ledger device or compatible wallet.
Q: Can I manage multiple cryptocurrencies with one Ledger device?
A: Yes, Ledger devices support a wide range of cryptocurrencies and tokens.
Q: How often should I update my Ledger device?
A: Regularly check for firmware updates and install them as they become available to maintain optimal security.
Starting your crypto journey with Ledger is a smart choice for securing your digital assets. By following this guide, you can set up your Ledger device confidently and manage your cryptocurrencies with ease. Visit Ledger.com/start to begin your secure crypto journey today.